How to select areas with the paintbrush in Krita 2.9
We have retired the Selection Brush in 2.9.
There are several reasons for this: It was not a real brush, there was no pressure sensitivity, adding and removing from selections was complex.
But the most important reason of all was that we implemented a far more powerful system in Krita 2.9: Painting directly on the selection mask.
To explain: Masks are a a type of greyscale image that we use to define and select regions of an image. An example you might be familiar with are transparency masks, which control how opaque an image is.
Other versions within Krita are filter masks, where the greyscale image can be used to determine to what spots the filter applies to the underlying image.
And of course, Selection Masks.
If you are not familiar with selection masks, you can create one by selecting an area and rightclicking the layer to make a 'local selection'. This gives you a local selection mask. This feature is not unsimilar to selection layers in Manga Studio, or custom channels in Gimp and Photoshop.
You can paint on these with white to add to the selection, or black to substract from the selection. But that's only the local selection.

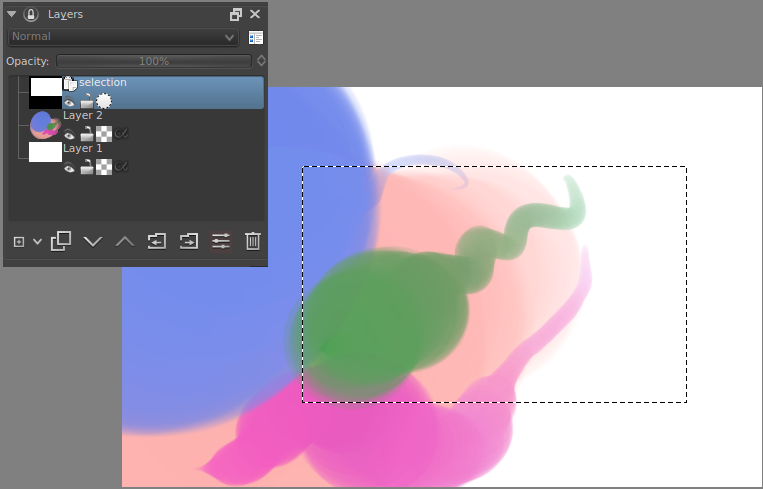
If you go into selection->show global selection mask, you will have the global selection as a seperate selection mask at the top of the layer stack. It's only visible if you already have something selected. Once you have selected something, you can choose to paint on it with black or white as well.
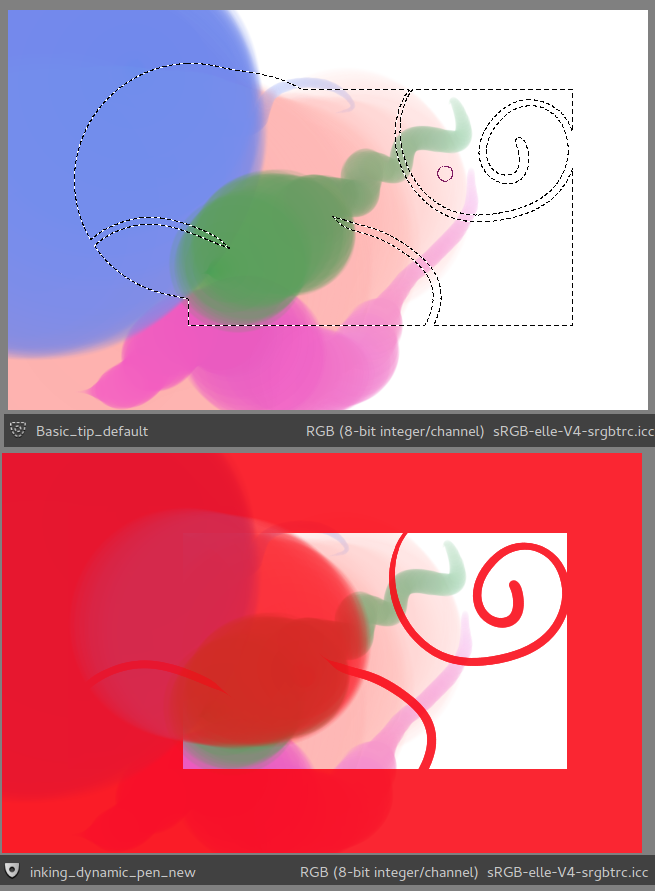
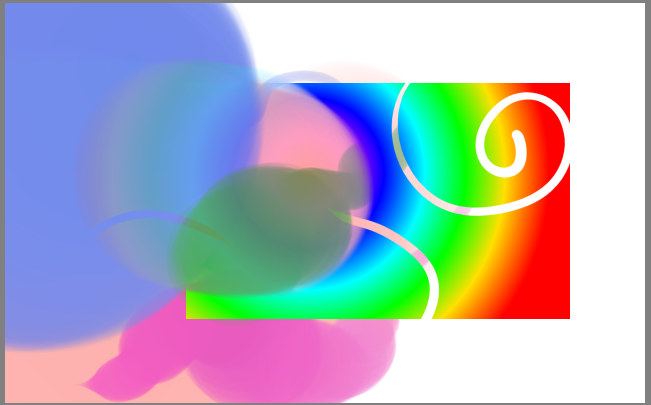
What's more, you can use pressure, geometry tools, mixing and blurring on this selection layer!
Because it's a greyscale image, the 'marching ants' will show up around anything that is not pure black. Therefore, to substract, you must use 100% pure black.
Of course, this means that Krita can select areas for only 50%. To visualise this, you can use the selection overlay instead of the marching ants.

The toggle for that is in the lower-left corner of your status bar, and you can customise the colour and transparency under settings->configure Krita->display.

As you can imagine, we felt that these two features were much more powerful than the old selection brush. We therefore hope you understand us retiring the selection brush, and that you will enjoy using the new global-selection mask!